
Installing the Floor in our Camper Van Conversion
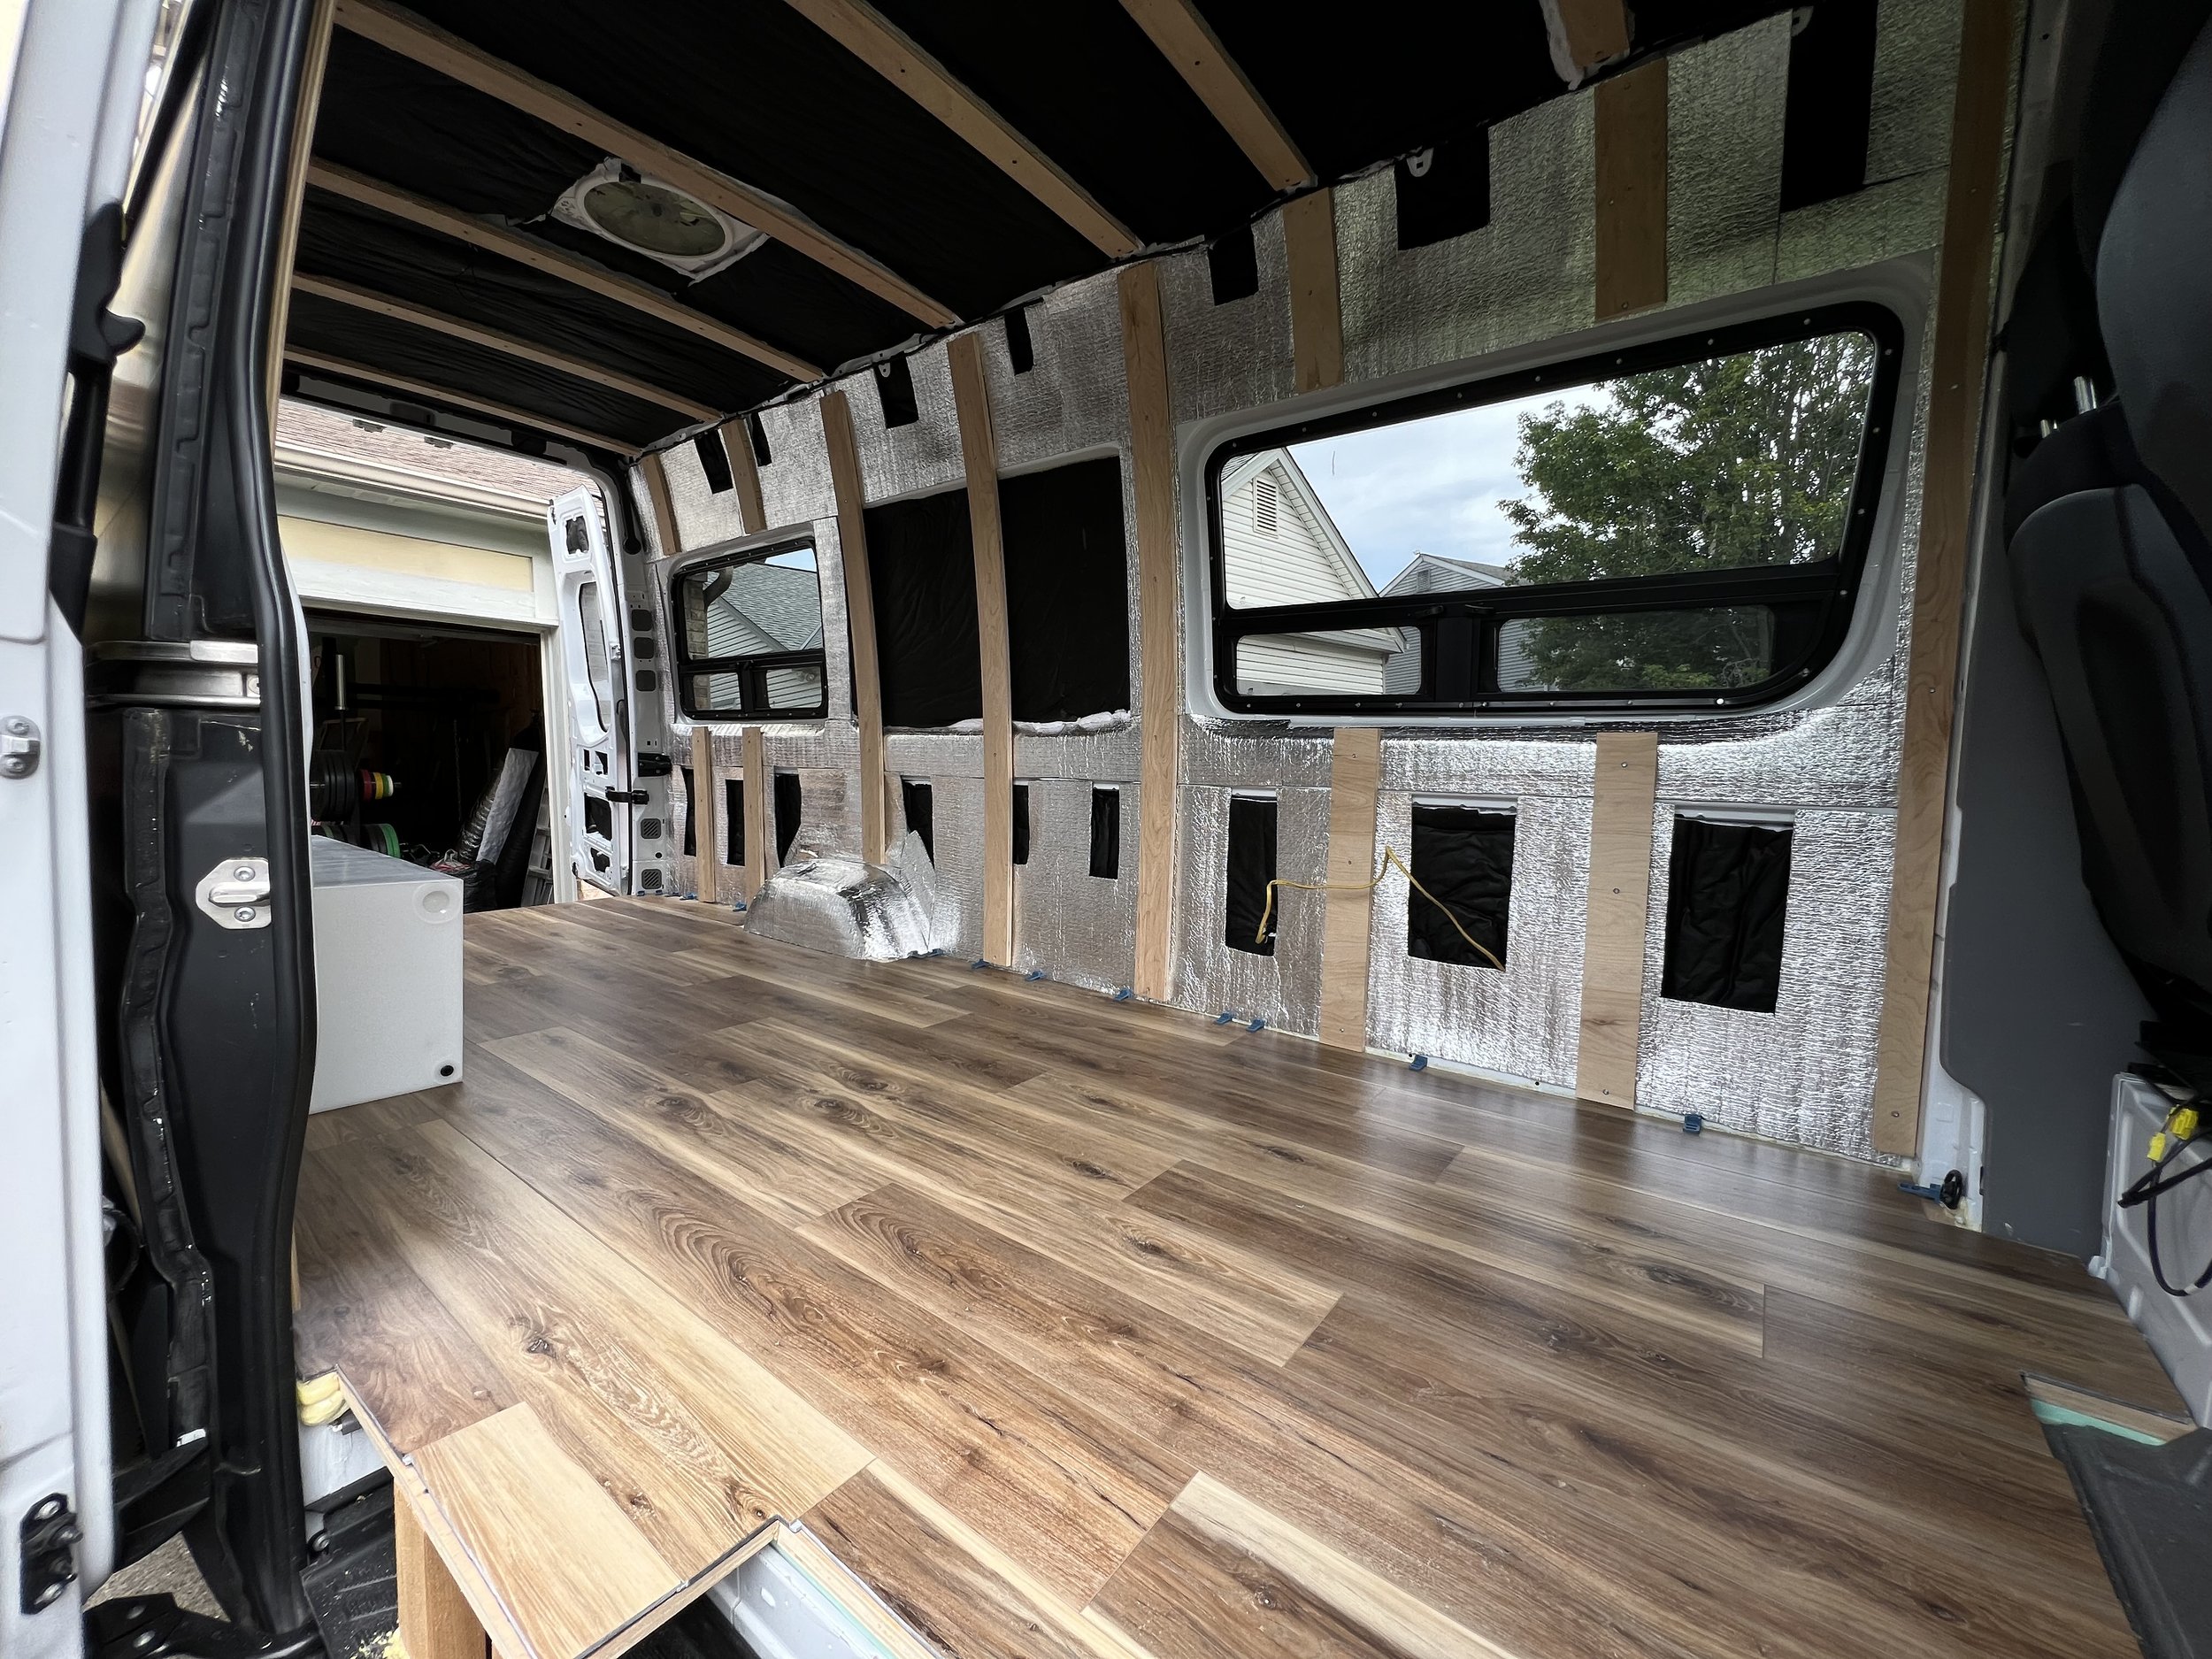
LVP flooring in our van conversion
*Disclaimer: This post contains affiliate links. If you choose to make a purchase using one of our affiliate links, we will make a commission at no additional cost to you. Thank you for your support!
After insulating the van floor, the next step is installing the floor in our van conversion. We wanted to make sure we installed a floor that didn’t squeak and could easily handle the weight of all the cabinets. We also wanted to choose a flooring that was durable and could handle the wear and tear of traveling with dogs and still look good.
We chose to use Luxury Vinyl Planking (LVP) for our floors since they are durable, water proof, and look good. Some other flooring options we looked into were cork, vinyl, and laminate. We immediately decided against hardwood floors because of price, getting scratched easily, and not being waterproof. We did consider laminate based on price and ease of installation however, we did not like that laminate has a tendency to warp when wet which can lead to more issues such as mold in the long term. However, if you are looking for a cheap option and really want the wood floor look, this could be an option. We just felt like it was bound to get wet with the dogs. Cork is a nice option as well. We looked into cork, but did not like the repeated complaints of how easy it is to scratch, especially having dogs. We also did not like the cost and additional maintenance needed to keep the floor looking nice. In the end we decided the LVP met all our needs for a reasonable price.
Installing the Plywood Sub Floor

Weighing down the sub floor while the adhesive dries
Materials and Tools Used:
- 3/4 inch Birch Plywood
- GE Advanced Silicone
- Caulk Gun
- Great Stuff Gaps & Cracks Spray Foam
- Circular Saw
- Jig Saw
After installing the floor insulation, we could install the sub floor. We used 3/4 inch Birch plywood for our sub floor. Our plywood of choice throughout the build was Birch. Birch is known to be stronger and more stable then regular plywood which means less warping. Birch is also water resistant. Since we planned on being outside a lot and have dogs, we felt like this was add additional protection against mold or water issues. Typically Birch will have a thicker veneer so it’s able to hold screws better and there is less chance of stripping issues. Birch will add additional cost to the project, but we felt it was worth the price. You can definitely still use regular plywood to save money, but just be aware there will be a difference in quality.
Using the factory floor as a template, we cut the plywood to the shape of the van floor. One of our biggest concerns about using the XPS Foam Board insulation under the plywood was the floor squeaking. To prevent this from happening we chose to use GE Advanced Silicone to adhere the plywood to the XPS Foam Board. The GE Advanced Silicone is safe to use on foam board, and we felt we had the least chance of a squeaky floor using this adhesive based on other people’s reviews. We weighed down the floor with weights while the adhesive set. After the adhesive dried, we went around and filled any gaps around the edges with Great Stuff spray foam. Some of you guys may be wondering why there were no screws involved in this process. We felt based on how the plywood was cut and fit in the van plus the additional weight of cabinets etc. the floors wouldn’t move. We can happily report after a few adventures this has never been an issue.
Installing the Luxury Vinyl Planking (LVP)
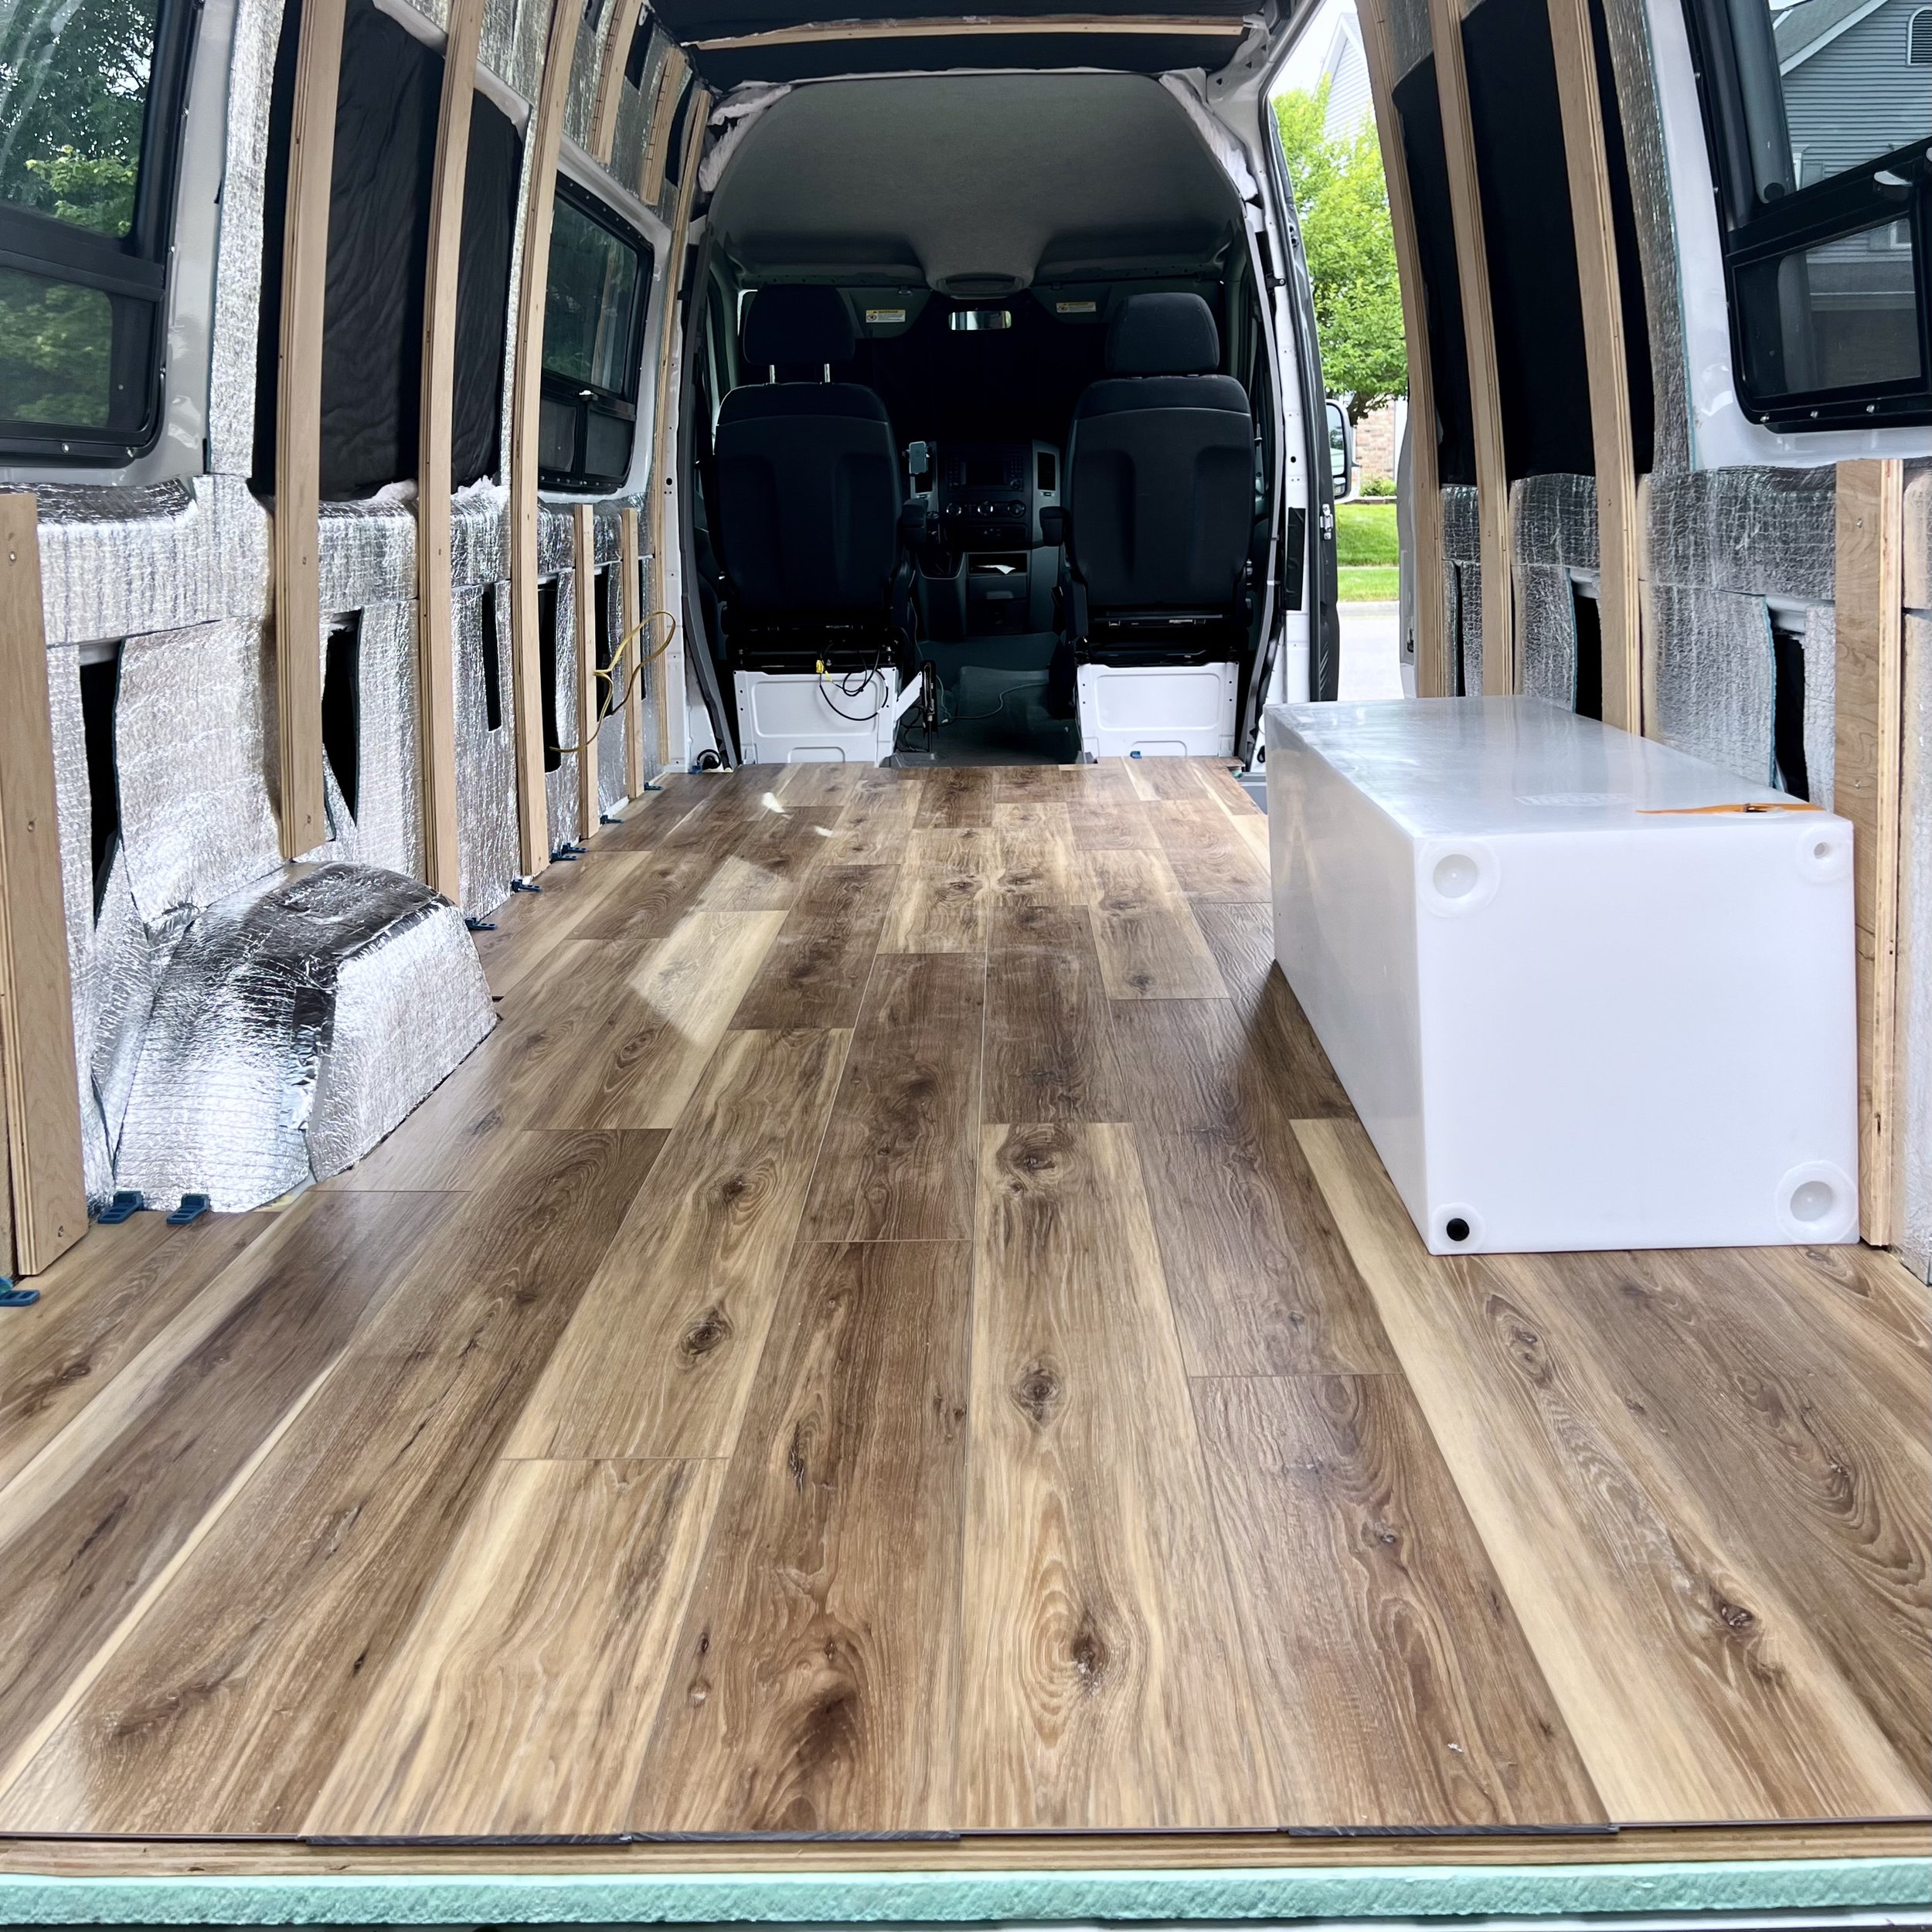
LVP flooring in the camper van
Materials and Tools Used:
- Luxury Vinyl Planking (LVP)
- Mallet
- Tapping Block
- Spacers
- Utility Knife
- Contour Gauge
- Tape Measure
- Speed Square
To install the Luxury Vinyl Planking you need a mallet, tapping block, and spacers. If you don’t want to buy everything separately, there are LVP installation kits that include all the tools. Make sure the floor is clean before installing. There are a few things you need to take into consideration before you start installing the LVP. Do you want a specific pattern or do you want to just stagger the planks randomly? We chose to just stagger the planks randomly. Either way, make sure the planks are staggered and the seams don’t line up exactly next to each other. You should also open up all your boxes of LVP and mix in pieces from each box as you lay the planks. Some boxes may have slightly different colors or patterns and this ensures they get spread out. We also found we liked certain planks more than others and saved those for areas that wouldn’t get covered by cabinets or benches.
We laid the first row starting at the back driver’s side corner of the van and worked our way forward. We placed spacers against the wall so the floor had room to breathe. Lay the first plank where you want to start. Install the second plank by holding it at an angle and inserting its tongue edge into the first plank’s groove edge. Lower the second plank to snap the planks together. You may need to use a mallet and tapping block to make sure the planks are lined up correctly. Keep using this method until you reach the drivers seat. Trim the final plank using the utility knife. We had to use the contour gauge to figure out the cut around the wheel well. For the second row, stagger the first plank so the seams don’t line up with the planks in the first row. Use the same angle-and-snap method, attaching them side-by-side to the planks in the first row as well as to one another. You may need to use a mallet and tapping block to make sure the planks are lined up correctly. Continue this method for the rest of the van floor. Once we got the hang of things, we were able to lay all the flooring pretty quickly.
Final Thoughts
We absolutely love our van floor and wouldn’t change anything if we went back and did it again. So far we haven’t had any issues with squeaking. The LVP still looks new even with 2 big dogs in the van and it’s super easy to clean. Plus it looks great as well as being functional :-).
