
Installing Roof Rails on Our Van Conversion

Roof rails on our camper van roof
The space on your van’s roof is perfect for solar panels, storage, and even a roof deck. Some camper vans will have roofs with next to nothing on them to create a more stealth effect. We felt the roof was a blank slate and we wanted to use as much of it as possible. In order to maximize the space, we had to do a lot of planning to make sure we could fit everything we wanted on the roof.
Important do not close off access to your interior ceiling before you start on your roof. It is still doable to work on the roof without access to the ceiling, but it makes it a lot more difficult. We had kind of a unique situation in that the previous owners had glued flexible solar panels to the roof and I mean thoroughly glued. The solar panels weren’t enough wattage based on our electrical calculations. Additionally, they were installed incorrectly. Solar panels should also have some room to breathe underneath them and the ribs were caked with glue. After Kevin got the panels off the van, Jess had the lucky assignment of removing the excess glue. She spent multiple days on the roof removing all the glue and cleaning the roof. Once the roof was clean, we treated any rust spots with Rust-Oleum Rust Dissolver Gel and painted the roof with Liquid Rubber RV Roof Coating to protect the roof.
Since we planned on using the roof for solar panels and storage we knew we were going to need roof rails. We chose Vantech roof rails designed for Sprinter vans so they fit right onto the existing mounting holes on the roof. These rails initially held our solar our panels until we upgraded to a roof rack.
Installing the Roof Rails

Installing the roof rails on Sprinter van
Materials and Tools Needed:
- Roof Rails
- Butyl Tape
- Heavy Duty Scissors
- Heat Gun
- Pliers
- Socket Wrench
- Wrench
- Channel Locks
- Hammer
- Ladder
- Goo Gone Automotive Cleaner
First climb up to the roof and look for plugs. You will see a line of them on the driver’s side and passenger side. We will be removing these and the holes are where out attachment points will be. Take your roof rails and assemble them per the manufacturer’s instructions. Then do a dry fit to make sure the holes on the rails line up with the plugs on the roof. Once you’re sure everything will line up correctly, you can take the roof rails off the roof and start the installation process.
Removing the Plugs on the Roof
The first step is to remove the plugs on the roof. These plugs are held in by adhesive and the best way to remove them is to use a heat gun to heat up the plug. This will loosen the plug and you can use pliers or a chisel to remove it. Sometimes the plug will deform or break when you try to pull it out. You can use a hammer from below to pop it up more so you can grab it with pliers. We used Goo Gone Automotive Cleaner to clean the remaining adhesive from around hole. After that you can use soap and water or something like Meguiar's Quik Detailer Mist and Wipe to clean the area around the hole.
Preparing the Roof Rails
Next take your roof rails and apply the strips of foam. The individual rails on the Vantech roof rails are different lengths so make sure you use the correct length of foam for each rail. Once the foam is applied, use a drill bit to poke a hole through the foam where the bolts go to make it easier to get the bolt through. Assemble the roof rails and take them up on the roof. Next we applied butyl tape.
Attaching the Roof Rails
Place 1.5-2 inch strips of butyl tape over each hole on the van roof. This helps with sealing the holes and preventing water/moisture from getting into the van. Set the rails in place and double check your holes are lined up. Once in place drop your bolts in each hole. You will need a buddy to help you tighten down the bolts since you’ll need one person on the roof and one person inside the van. Inside the van, place a washer, then lock washer, then nut onto the bolt. With one person holding the bolt in place with either a wrench or channel locks, the other person can use a socket wrench to tighten the nut. You want your roof rails to be secure but don’t over tighten since you can deform the roof. Your roof rails are now installed!
We wanted to make sure the roof rails weren't leaking so we waited for a few rain storms passed through before we felt comfortable closing up the ceiling inside the van. Luckily for us that only took about a week since springtime is very wet where we live :-).
Van Camper Roof Considerations
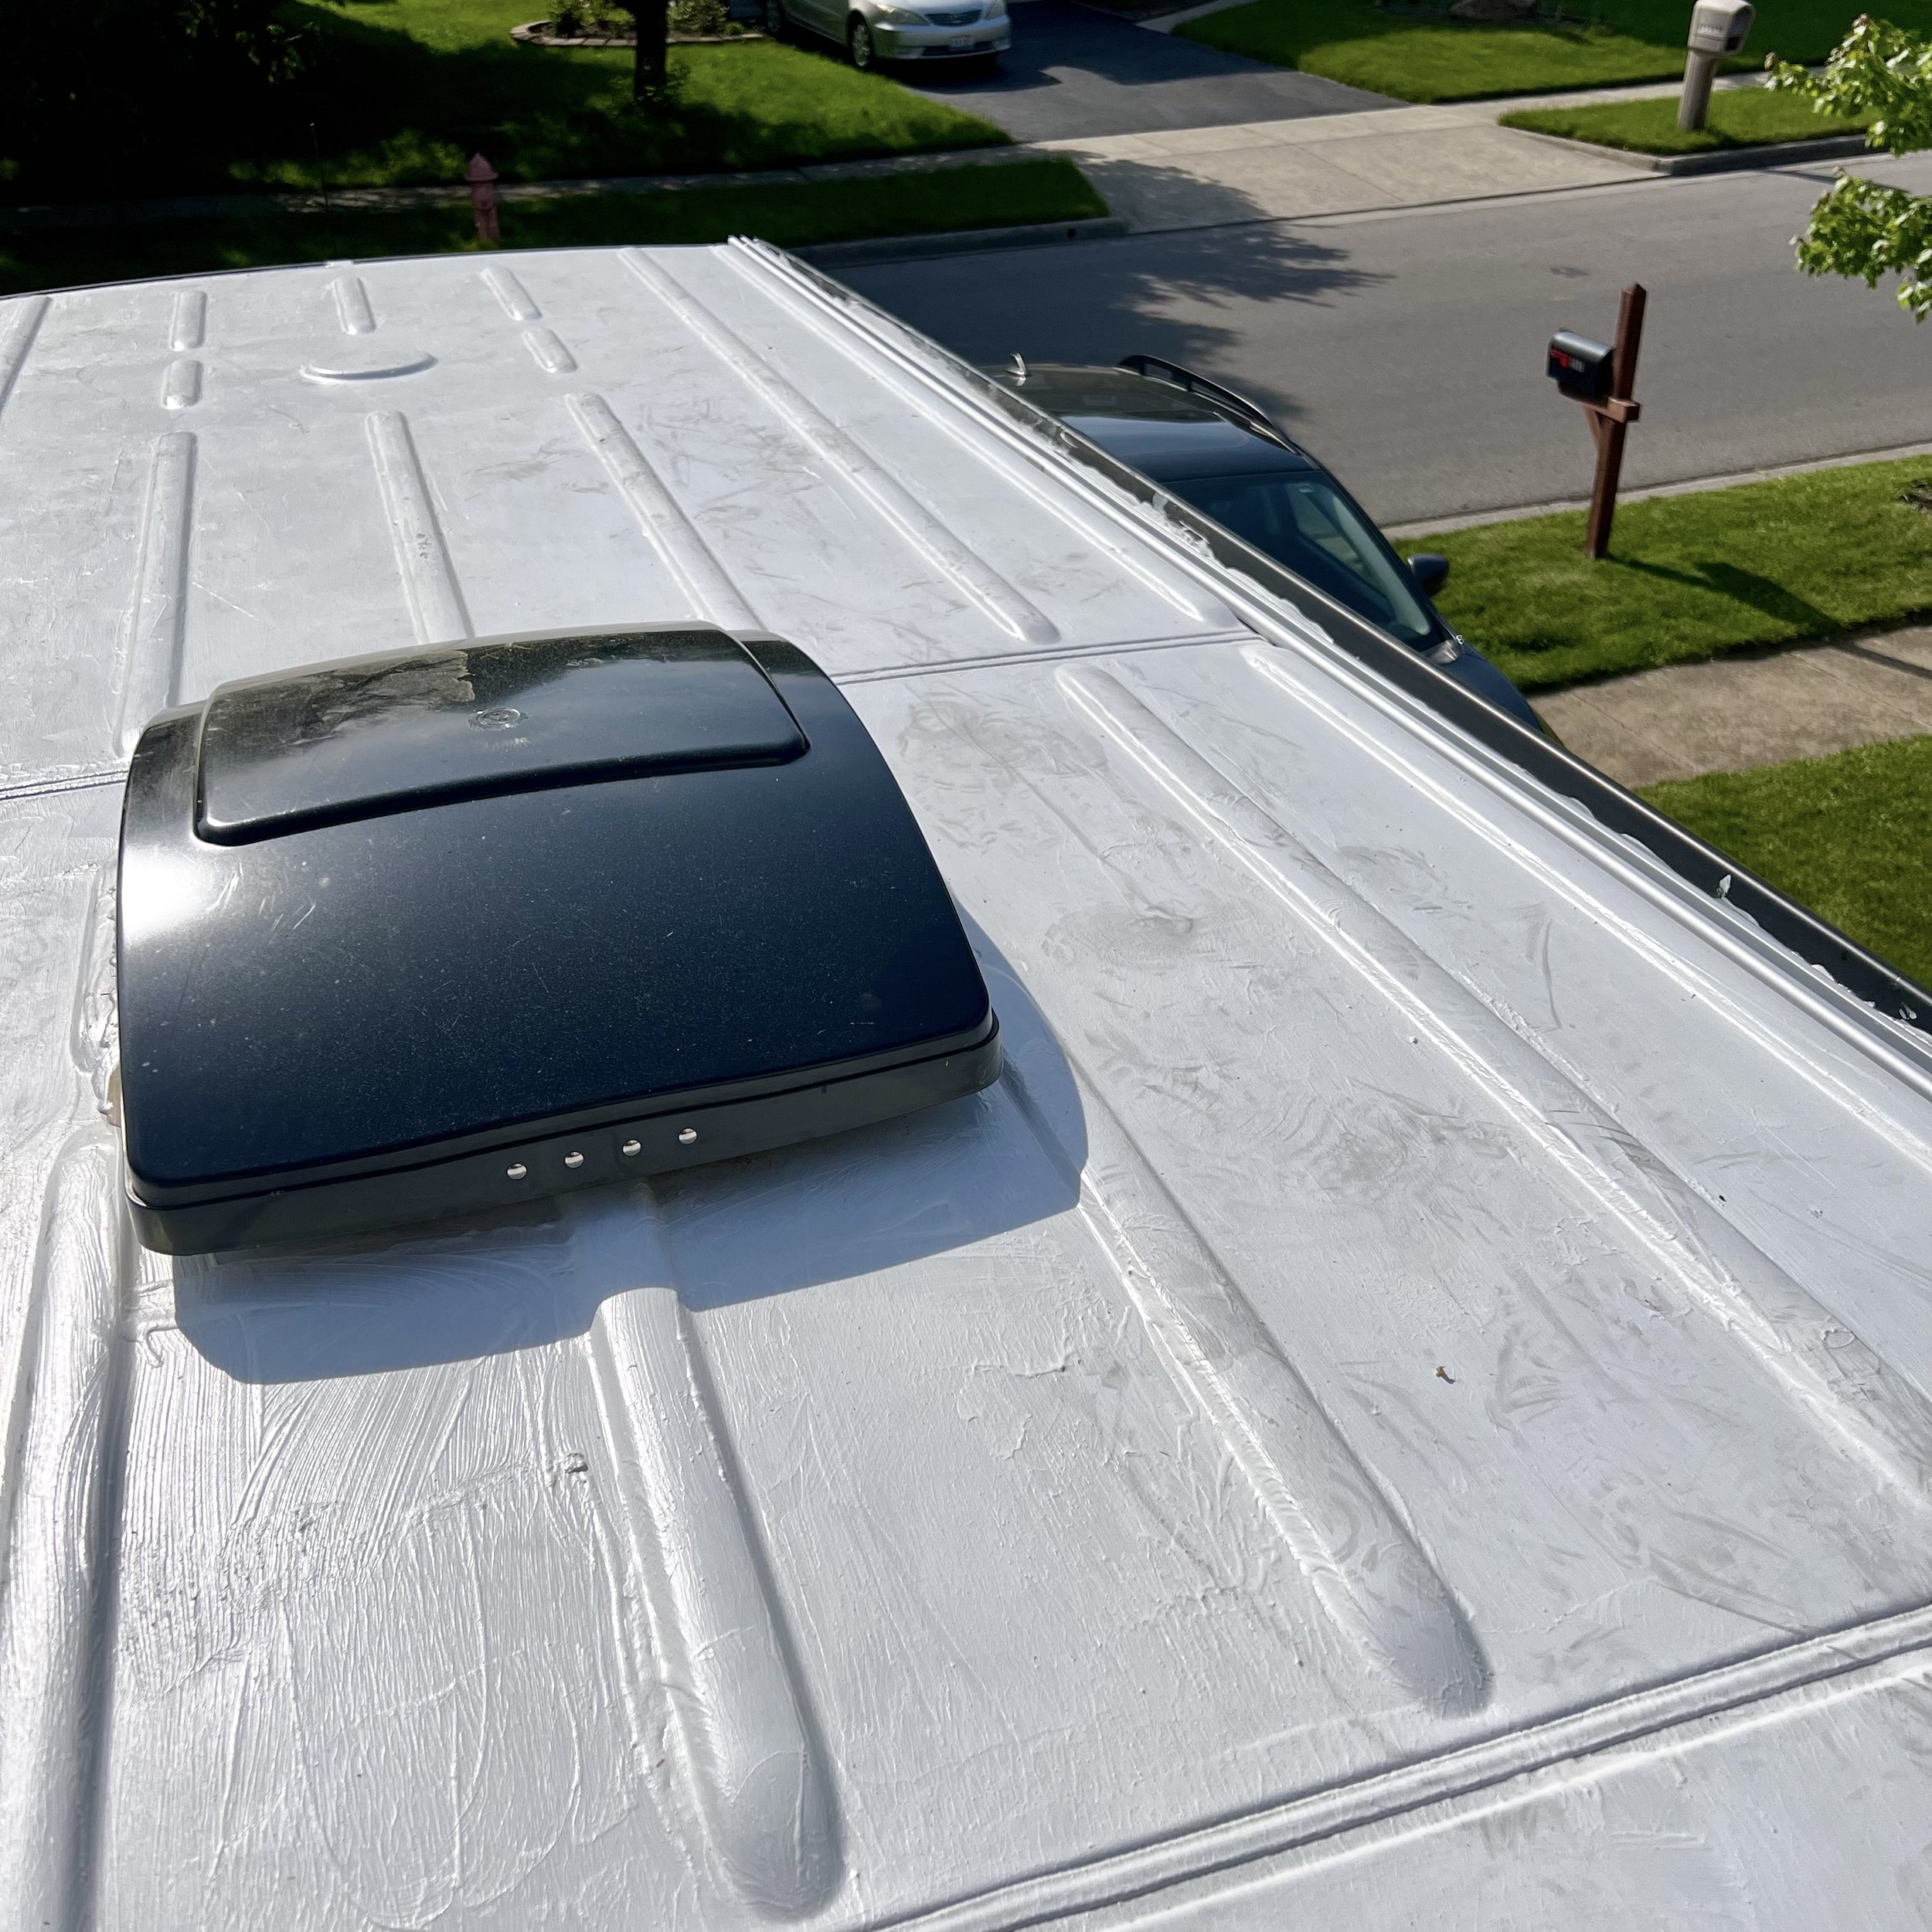
The Maxx Air fan on our van roof
While we worked on the roof, we started planning where everything was going to go. While the ceiling is still exposed, this is the time to cut any big holes in the van. The previous owners had installed a Maxx Air Fan, so we didn’t have the option of deciding where our fan went. The main thing to consider when installing the fan are location of kitchen and bed. We always want to think how to keep moisture out of the van and cooking produces steam, so we want the fan close to the stove so we can expel the steam. We also have our bed towards the back with windows on both sides, so the fan being in the middle of the van worked for us. That way when we set the fan to exhaust, it would create a nice air flow pattern across the bed to keep us cool. If we had installed the fan ourselves we would have probably installed it in the exact same spot. We feel it is effective in dealing with the stove, bathroom, and cooling the van.
We chose not to install an AC unit in our camper van conversion, but many people choose to install rooftop AC units. Typically these are placed towards the back where the bed is located. This will require another hole in the roof, so make sure to consider this. In you’re planning to install solar panels, storage, or a roof deck you should start planning where you want them to go. Even with plenty of planning, we had to get creative with our solar panel placement which we’ll discuss in another blog post.
Final Thoughts
For our Sprinter van conversion, the roof rails were the foundation of our plans for the van roof. They gave us flexibility for solar panels and storage. And when we decided to add a roof rack after we installed the solar panels, it was fairly easy to remove the panels to get the rack installed. Overall, we recommend installing roof rails if you plan on fully utlizing the space on our van roof.