
Sprinter Van Headliner Shelf Installation

*Disclaimer: This post contains affiliate links. If you choose to make a purchase using one of our affiliate links, we will make a commission at no additional cost to you. Thank you for your support!
Installing a headliner shelf is a great way to add storage to your camper van conversion. The shelf provides a lot of storage space that is out of way but easy to access in your van. We use ours for all sorts of items like bulky coats, extra stuff for the dogs, helmets, ice scraper, bags, etc. Installing the shelf is a fairly easy project and you don’t need advanced wood working skills to complete. We chose a DIY Sprinter headliner shelf kit that came with the hardware and a template for the shelf, however, you can also buy a full kit that includes the shelf that’s more expensive.
Materials and Tools Used:
- DIY Sprinter Headliner Shelf Kit
- 1/2 inch Birch Plywood or 3/4 inch Birch Plywood (we had 1/2 inch leftover from other projects)
- Jig Saw
- Scissors
- Painter’s Tape
- Screwdriver or Socket Wrench (Phillips and Torx bits)
- Wrench
- Paint or Stain for the plywood
- Wood Glue
- Clamps
- Nail Gun and 18 Gauge Brad Nails
Installing the Brackets
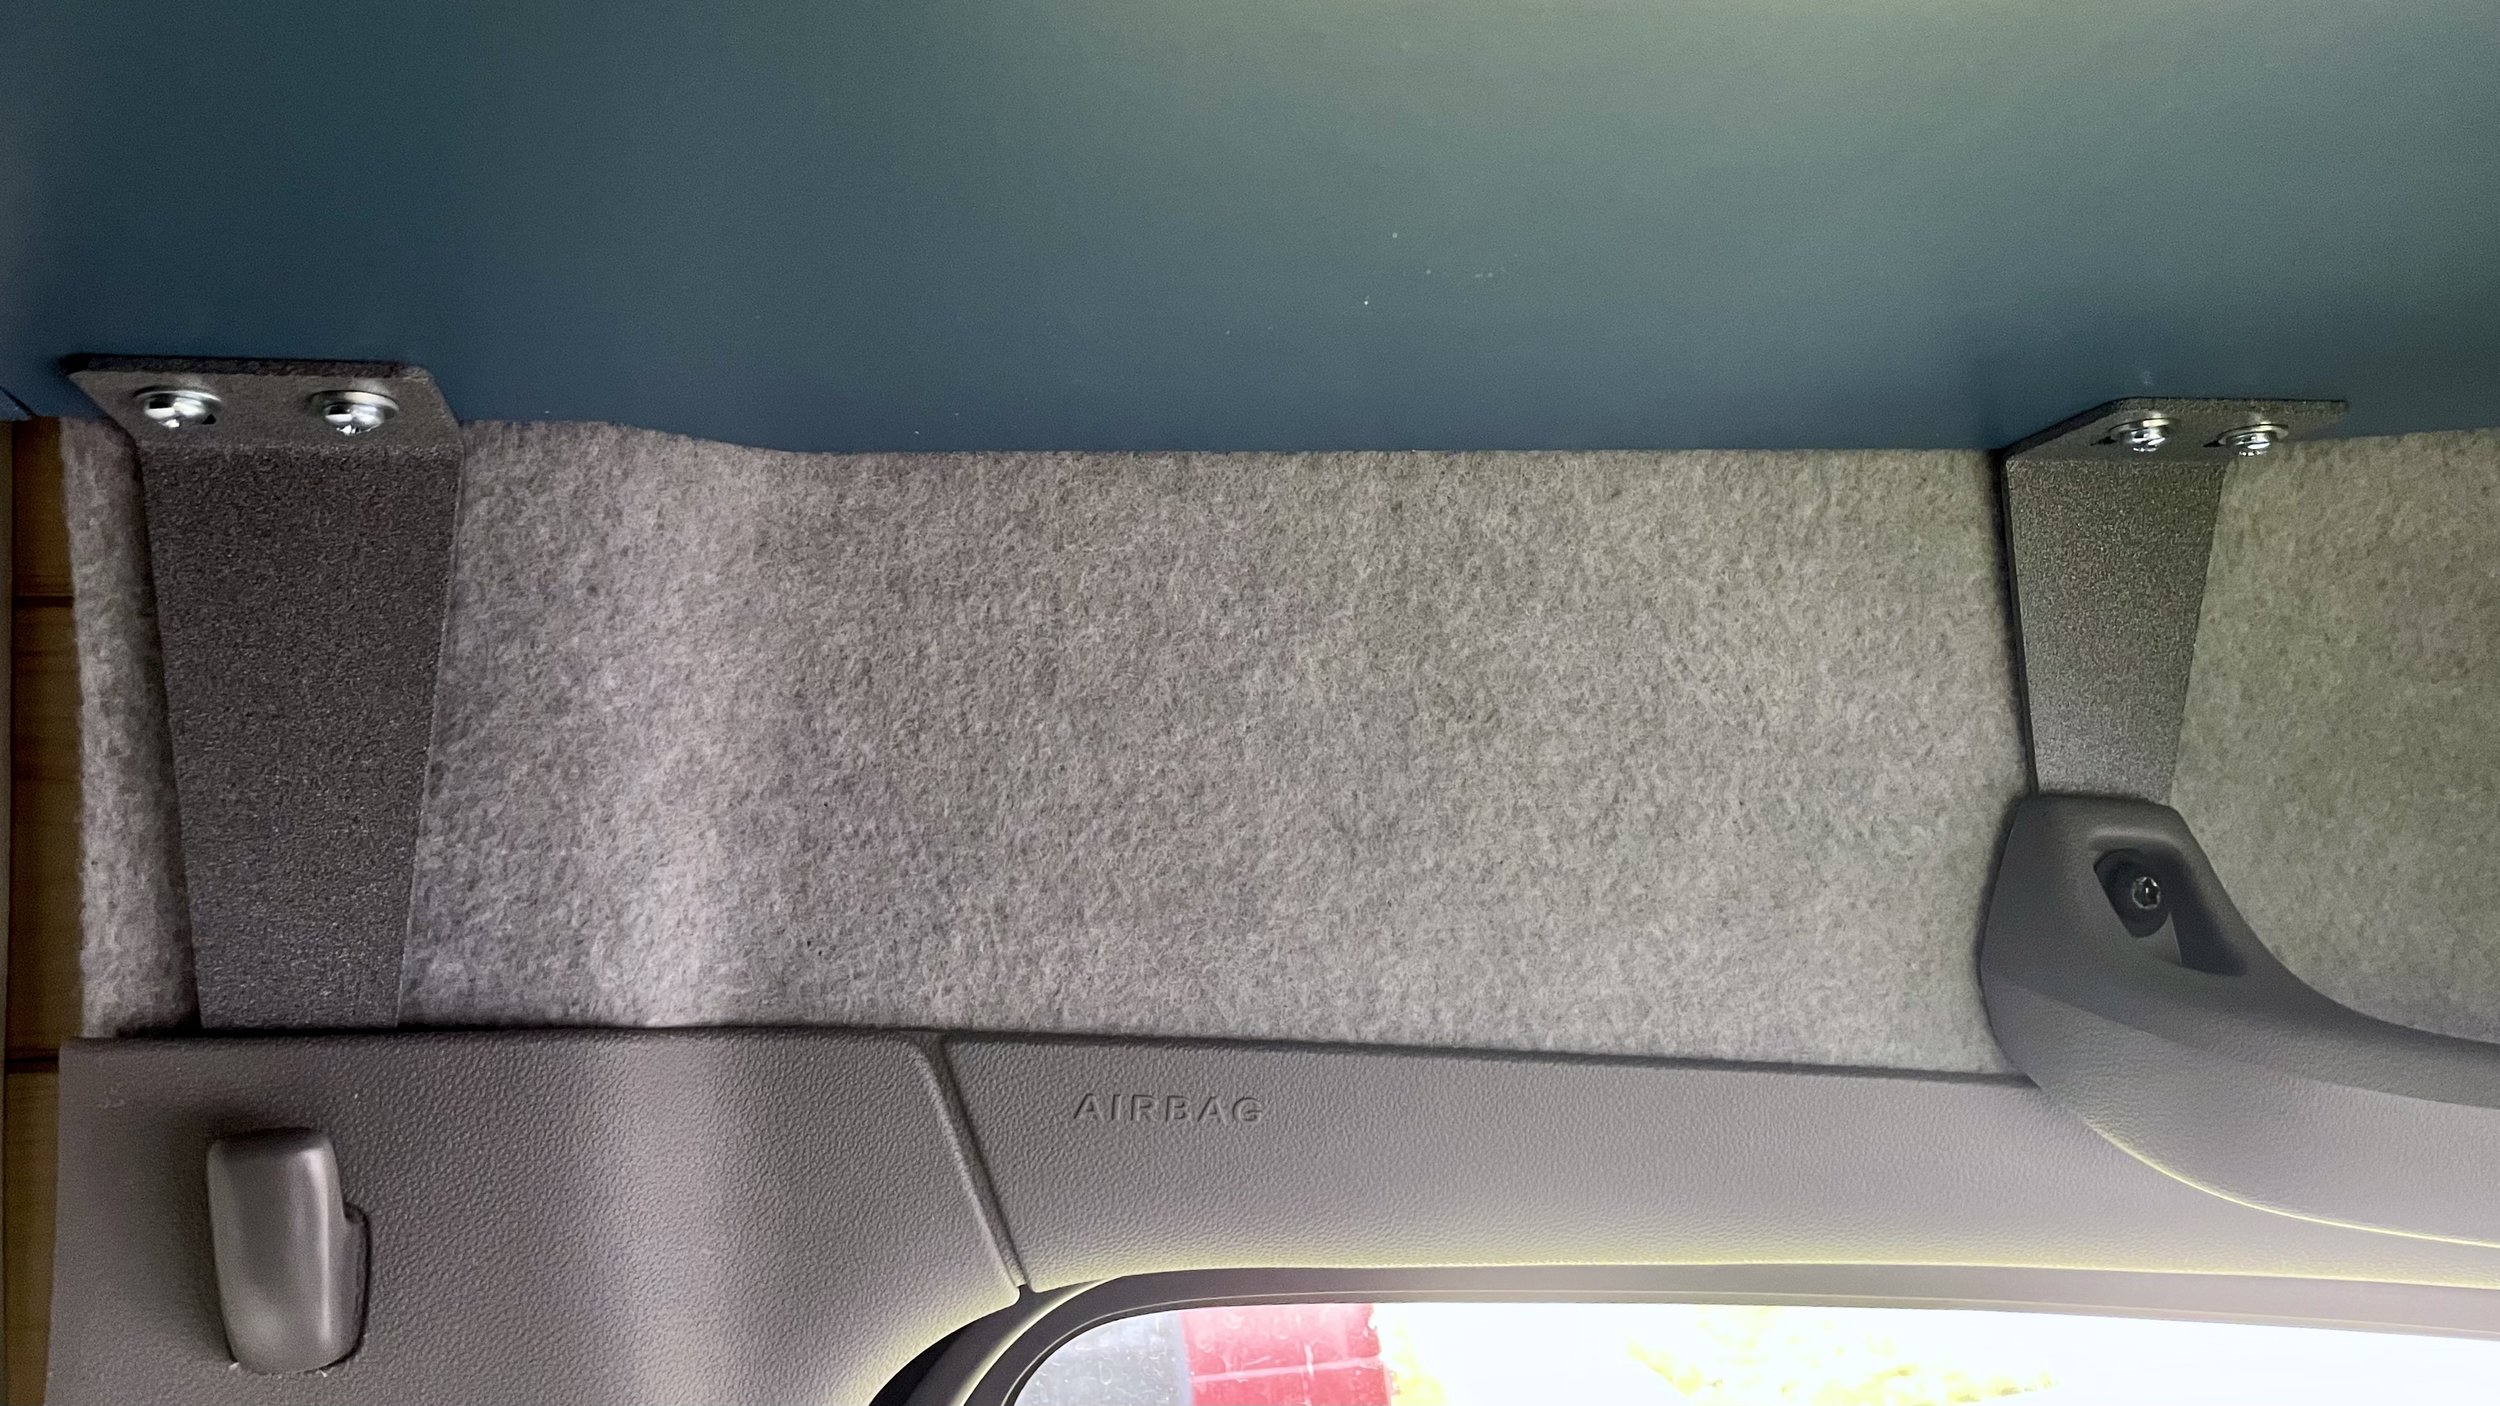
As we mentioned above, the kit we used contained all the hardware for the project and a template for the headliner shelf. We started by loose fitting the brackets that hold the shelf. In the hardware kit there are two longer 90 degree brackets and two shorter ones. The shorter ones go up front by where the visor connects to each side of the van. The longer two brackets go further back where the coat hangers are.
The longer bracket will go behind the plastic that the coat hanger is installed over. First remove the plastic covering for the coat hanger by prying it out gently. This will expose a Torx screw. Use a Torx bit (I believe we used a T-20) with a screwdriver or socket wrench to get the screw out. Then slowly pull the plastic back just enough to drop the bracket in. Then put the Torx screw back in, and loosely screw it in. The bracket should still be able to move around at this point. Repeat on the opposite side.
For the smaller bracket, unscrew the visor with the Torx bit. Once the Torx screw is out, pull back just enough to drop the bracket into place. Align the holes and put the screw back through the visor plastic and loosely screw it in. Again the bracket should still be able to move around. Repeat on the opposite side
Cutting Out the Headliner Shelf

If you did not get a kit with a premade headliner shelf, it’s time to build the actual shelf. The nice thing about the DIY kit is it comes with a template for the headliner shelf. The first step is cutting the template out with scissors. You do not have to cut exactly on the line. We left the whole line visible to make it easier to cut with saw.
Place the piece of plywood you intend to use for the shelf on the saw horses, and make sure it has at least one straight edge. If you can align the straight side of the template with a straight edge, it reduces the amount of cuts you have to make. Align the template with your straight edge. Now tape down your template to the side that will be facing down once installed. Make sure the template is tight and smooth on the wood. Because of the curves on the template we used a jigsaw to make the cuts. Since plywood can split or splinter easily, make sure you have a nice new wood blade, the settings are correct on the saw, and the batteries are fully charged (if using a cordless saw). Take your time and let the saw do the work.

Once you have your shelf cut out, do a test fit. Angle your brackets out of the way, place the wood where it will sit, then rise the brackets back up to a vertical position. See how the headliner is sitting in the van. Use a pencil to note any areas that need adjusting. If you are happy with the shelf fits, use a pencil to mark where you will need to drill bolt holes through the wood. You should have two holes for each bracket drawn on your plywood. Remove the shelf from the van and use a 7/32 drill bit to drill out the holes. We chose to drill the holes before we painted the shelf since there was a lower chance of the wood splitting and it would look cleaner.
Next you can cut the flange board for the shelf using the template in the kit. Repeat the same process before as you did for the shelf. Once the flange board is cut out, make sure it fits properly along the straight edge of the headliner shelf. Make any adjustments if needed.
Paint or Stain the Headliner Shelf
Now you can paint or stain the headliner shelf. This is easier to do before the flange board is attached to the shelf. We painted ours the same blue as our lower cabinets. If you don’t want to paint or stain the wood, we recommend applying a polyurethane top coat to the wood to protect it.
Build and Install the Headliner Shelf
Once everything is dry, it’s time to attach the flange to the shelf using wood glue and clamps. We didn’t have enough big clamps to do it this way so we decided to use wood glue and 18 gauge brad nails to attach the flange.
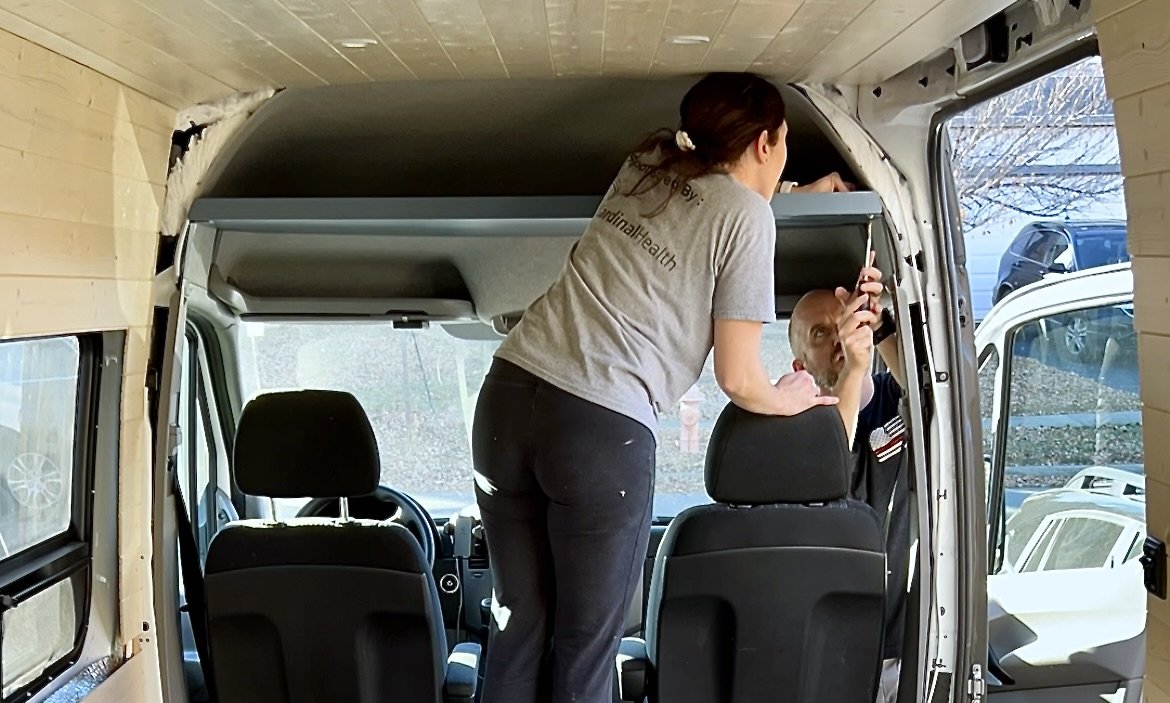
After the glue has dried, you can finish installing the headliner shelf. This part will be a lot easier with 2 people. With the brackets tilted down, place the shelf in the van. Then raise the brackets to a vertical position and align the holes. Place a bolt with a washer on it from the bottom side, then place a washer and nut on the top side. On the top side, hold the nut in place with an adjustable wrench or 3/8” wrench. Then use a screwdriver with a Philips head on the underside to tighten the bolt. Repeat this for all of the bolts. The final step is to tighten down the Torx screws that were left loose and put the coat hooks back on.
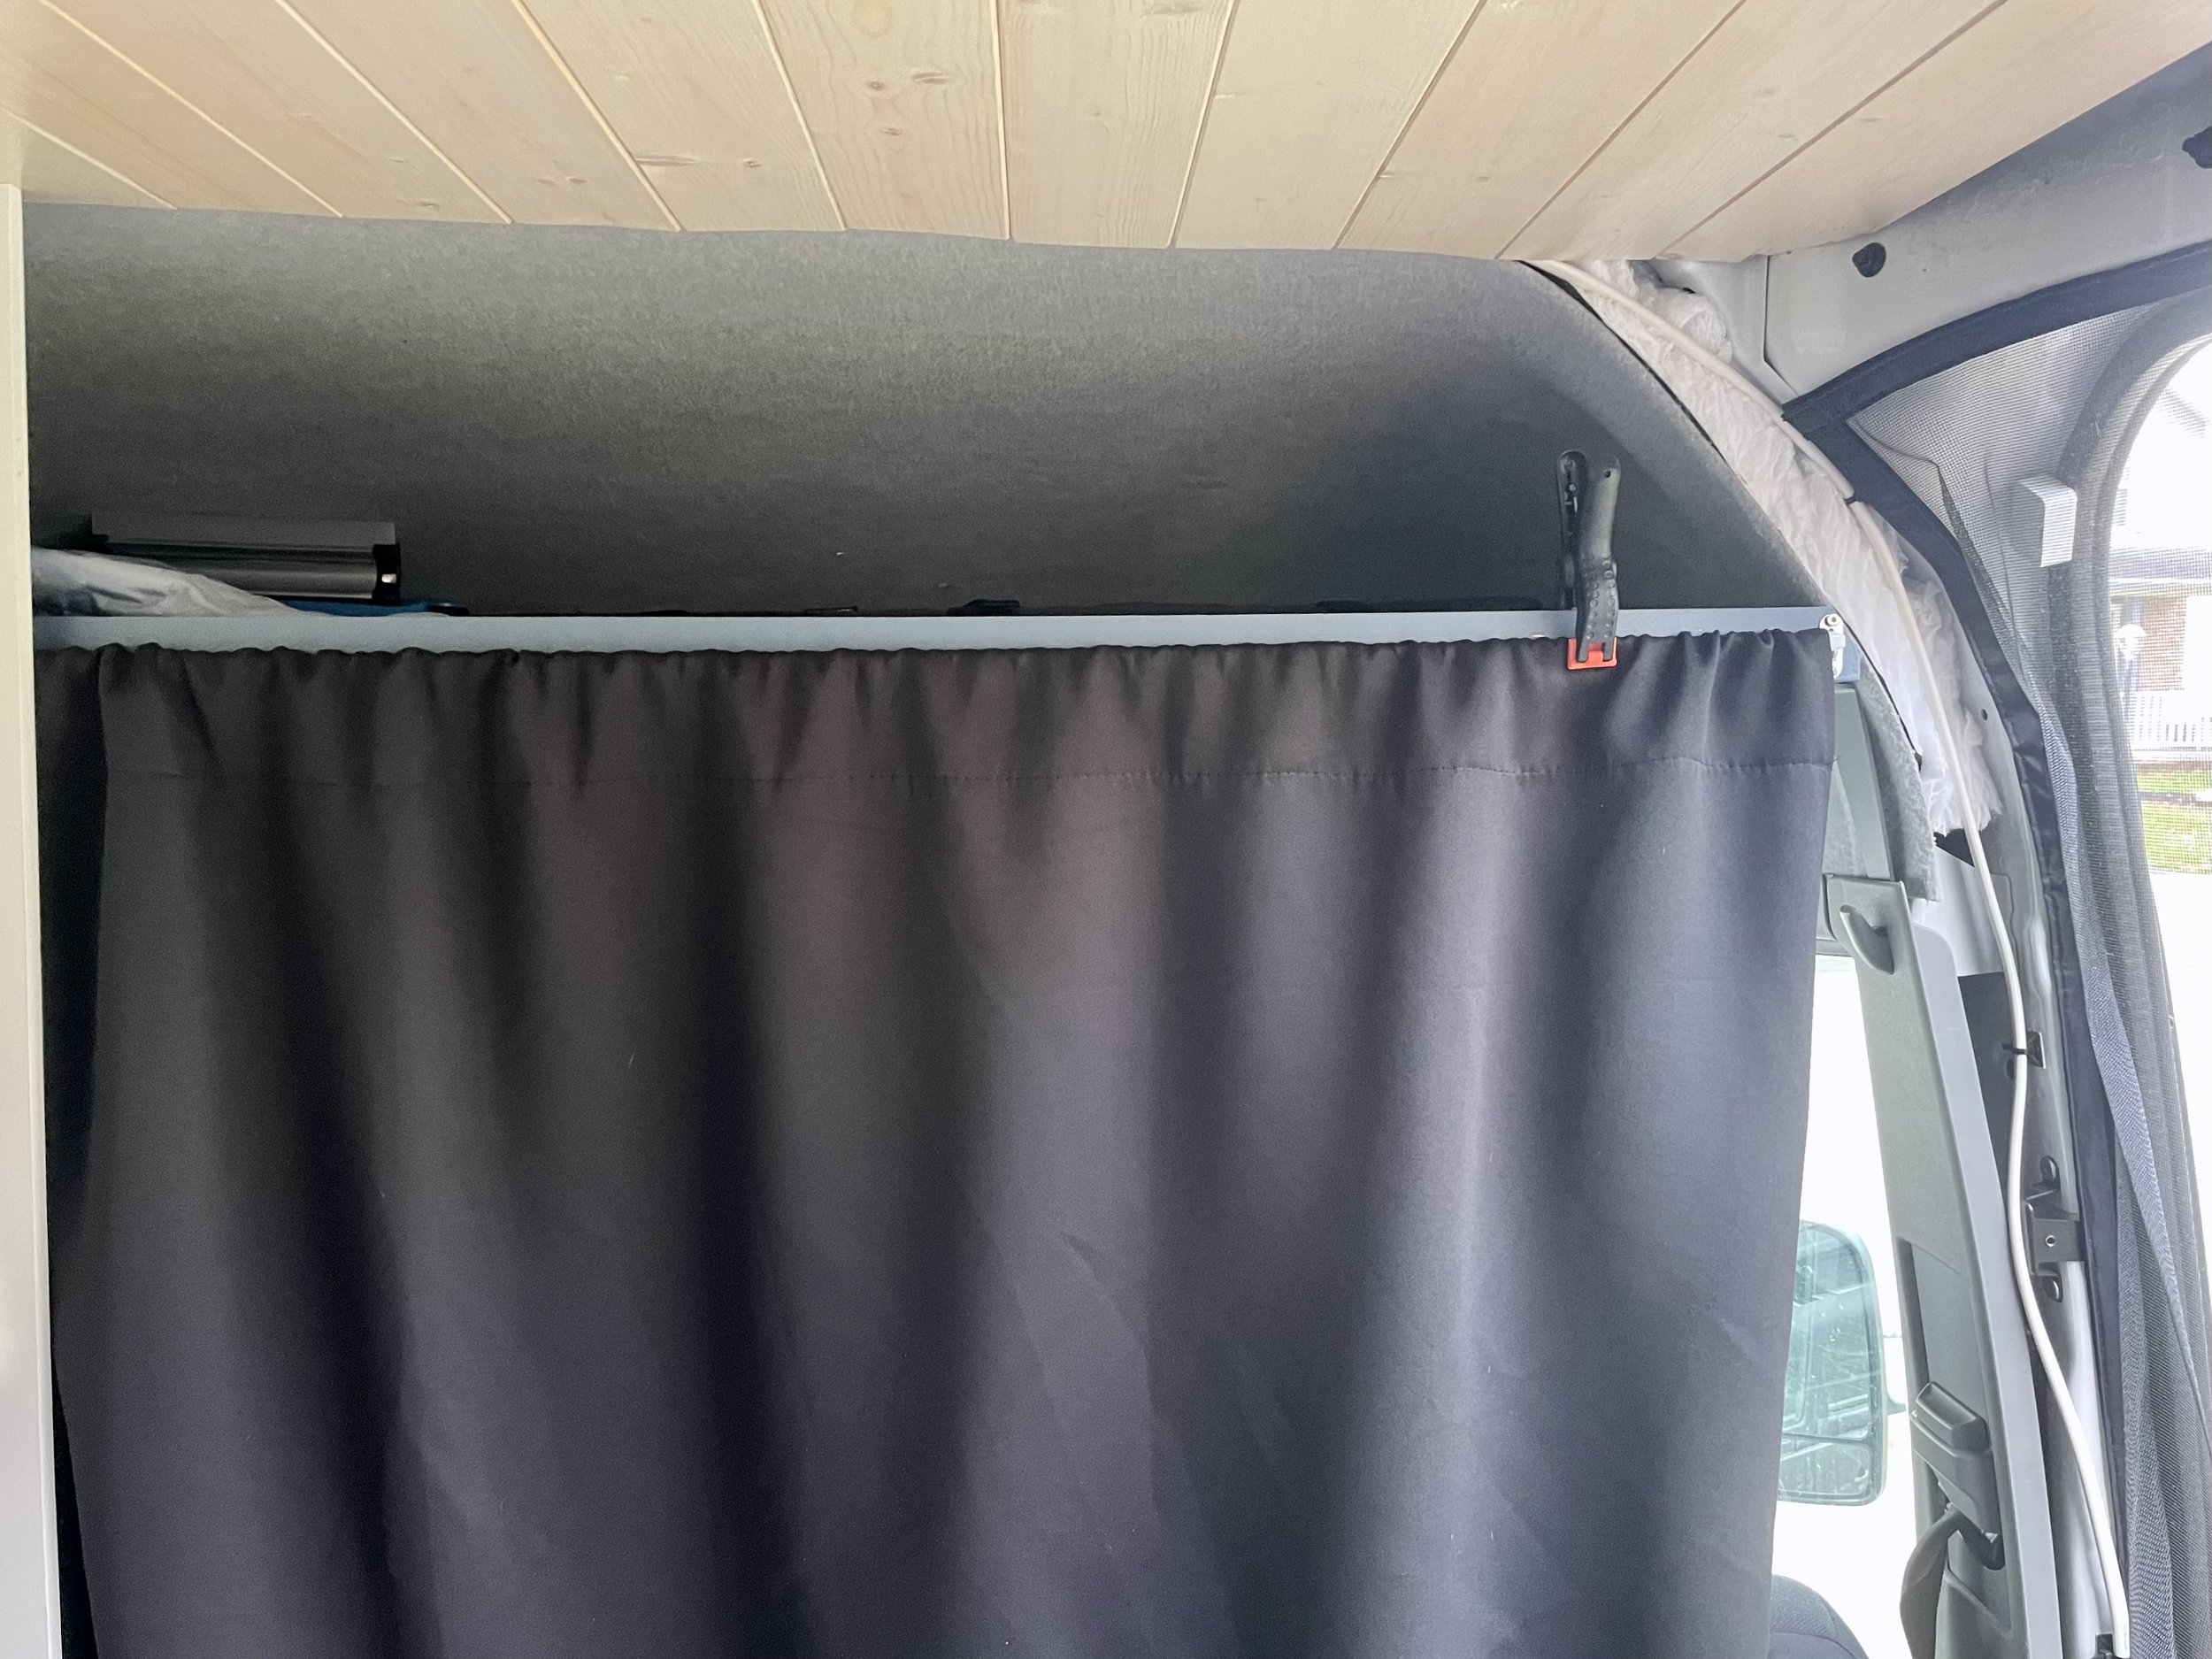
Voila! Now you have a large storage space in a previously unused area of your van. Not only do we use our headliner shelf for storage, but we also use it to hang a blackout curtain between the front seats and the back of the van. We definitely recommend installing a headliner shelf in your camper van conversion!
For more info about how we use our headliner shelf, check out our van storage and organization post.